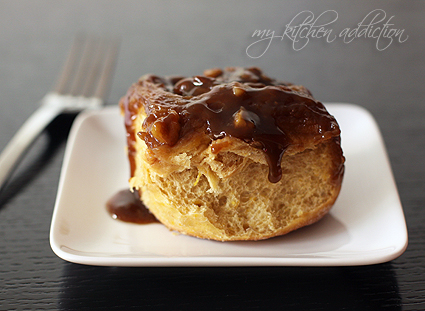
 Pumpkin season is officially here, and I can’t tell you how happy that makes me! If you are a regular reader, you’ve most likely already figured out that I’m big fan of the fall, and I especially love pumpkin. I put it in just about everything – from cookies and cupcakes to pasta and beef stew. So, it should come as no surprise to you that, when experimenting with some new yeast from Red Star Yeast, I decided to throw some pumpkin into the mix. Seems reasonable, right?
Let’s take a step back and start at the beginning, shall we? Most of you are also aware of my ongoing relationship with Red Star Yeast. I bake a lot of homemade bread, and their yeast has always been my favorite (long before I had a blog). So, I’ve been working with them for the past year or so to bring you some great recipes and take some of the fear out of baking with yeast. Just over a month ago, I was given the opportunity to try their new PLATINUM Superior Baking Yeast. I played around with it in a lot of my favorite recipes (pizza, sandwich bread, and even some challah!), and I was quite pleased with the results.
PLATINUM is a premium instant yeast that has been blended with dough enhancers that are commonly used by professional bakers. So, the result is an easy to use yeast that helps to leaven the dough while producing consistently good results. And, my favorite part? It is particularly good for baking with whole grains and sweet breads. Most of the breads that I bake at home are, in fact, whole grain, and they have turned out beautifully with the PLATINUM yeast. You can get all of the details on the official PLATINUM page on the Red Star website. And, while you’re there, I’d definitely recommend checking out the tips on how to use the yeast, as well as the video. There’s a lot of great information!
You can also find out more about the PLATINUM yeast by following Red Star on Twitter (@RedStarYeast) and checking out their Facebook page. They’ve also got a great collection of recipe boards on Pinterest, as well.
Ok, so now that you’re up to speed, let’s get to the pumpkin! While I enjoyed playing around with the new PLATINUM yeast in my usual recipes for pizzas and sandwich breads, I knew that I had to step it up a bit and come up with a fun new recipe to share here on the blog. That’s where the pumpkin comes in. Perhaps you remember these Pumpkin Pull-Apart Pan Rolls that I featured from the Red Star site last October. They quickly became one of my favorite fall recipes, and I think I’ve made them at least 10 times since. I knew that I wanted to make another batch now that pumpkin season is upon us, but I couldn’t just leave you with a repeat recipe, could I? Of course not. So, I used the rolls as a base for some decadent pumpkin sticky buns.
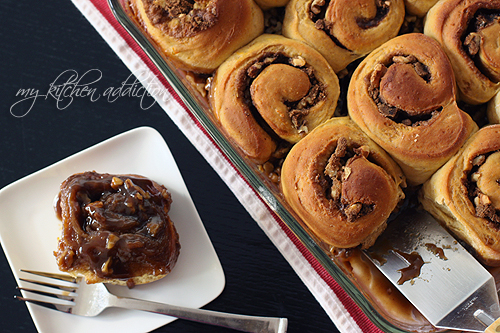
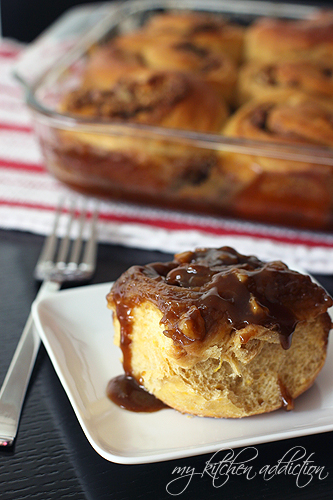
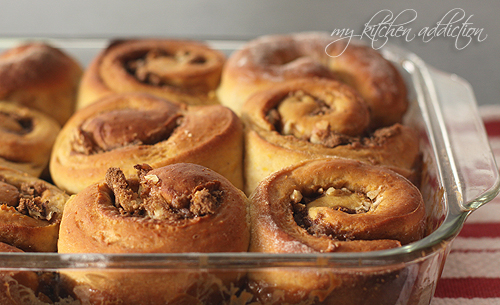
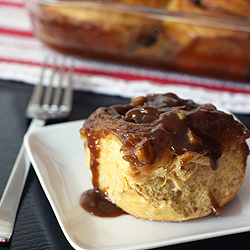
My favorite sticky buns are the ones that have a nice soft, super gooey topping sprinkled with nuts. So, that’s the way I made these sticky buns. I rolled the dough (which, I did adapt slightly from the original recipe) with spices, brown sugar, and nuts. Then, I nestled the rolls in lots of goo and even more nuts. The result was just what I had hoped for. The rolls baked up nice and light, with a hint of pumpkin and spice. And the topping? Well, it was just delightfully sweet and sticky, as I had hoped.
My hubby and I both enjoyed eating these rolls throughout the week for breakfast. They were especially good when they were still warm from the oven, but they kept well for a few days in the fridge. All they needed were a few seconds in the microwave to warm them up. I think I’ll be making these sticky buns again very soon… And, I’ll also be keeping them in mind around the holidays for entertaining!
Pumpkin Sticky Buns
Makes 12 large sticky buns
(Recipe adapted from Red Star Yeast)
For the dough:
- 4 cups bread flour, divided
- 1 packet (2 1/4 teaspoons) PLATINUM yeast
- 1/4 cup lightly packed dark brown sugar
- 1 1/2 teaspoons salt
- 1 teaspoon ground cinnamon
- 1/2 teaspoon ground nutmeg
- 1/4 teaspoon ground cardamom
- 1 cup pumpkin puree
(either canned or homemade) - 1/4 cup (1/2 stick) unsalted butter, cut into chunks
- 2 tablespoons milk
- 2 eggs
For the sticky topping:
- 1 stick salted butter
- 1 cup lightly packed dark brown sugar
- 1/4 cup maple syrup
- 1/3 cup half and half
(or heavy cream, if you prefer)
For the filling:
- 1/2 cup lightly packed dark brown sugar
- 1 teaspoon ground cinnamon
- 1/4 teaspoon ground nutmeg
- 1/4 teaspoon ground cardamom
- 1 1/2 cups walnuts, toasted and chopped, divided
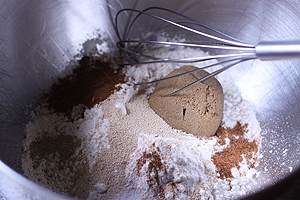
Begin by preparing the dough. Combine 2 cups of the bread flour, yeast, brown sugar, salt, cinnamon, nutmeg, and cardamom in a large mixing bowl. Whisk to combine the ingredients.
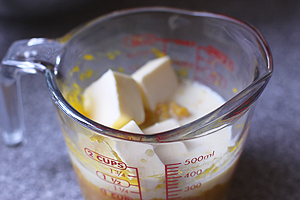
In a separate microwave safe bowl (or measuring cup), combine the pumpkin puree, butter, and milk. Microwave for about 1 – 1 1/2 minutes, until the mixture is warm (120°-130°F) and the butter is melted. Whisk until the mixture is smooth.
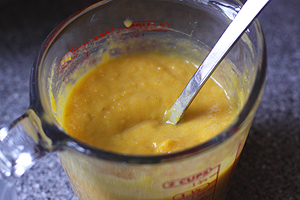
Add the pumpkin mixture to the dry ingredients and beat on medium speed for about 2 minutes. Add the eggs, and beat for an additional 3 minutes.
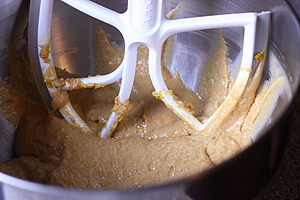
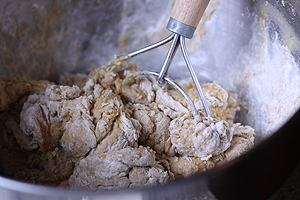
Gradually, stir in the remaining bread flour, using just enough to form a soft dough. As the dough starts to pull away from the sides of the bowl, transfer the dough to a lightly floured surface, and knead by hand for about 5 – 7 minutes, until the dough is smooth and elastic. Use only enough flour to keep the dough from sticking to your hands.
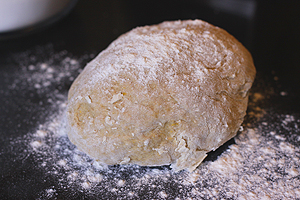
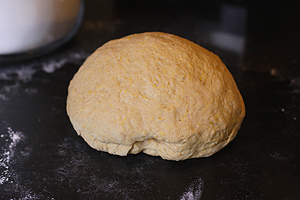
Shape the dough into a ball and transfer to a lightly greased bowl. Cover with plastic wrap, and allow the dough to rise until it has doubled in size and the imprint of two fingers remains.
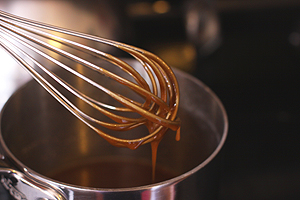
As the dough is rising, prepare the sticky topping. Combine the butter, brown sugar, and maple syrup in a saucepan over medium-low heat. Bring to a bubble and whisk well to make sure that the brown sugar has dissolved into the butter and syrup. Remove from the heat and whisk in the half and half. Set aside to cool.
Before shaping the rolls, combine the brown sugar, cinnamon, nutmeg, and cardamom for the filling in a small bowl. Stir to combine.
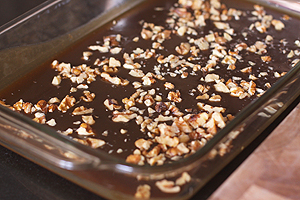
Pour the cooled topping into a large baking dish (9 by 13-inches). Sprinkle with 1/2 cup of walnuts.
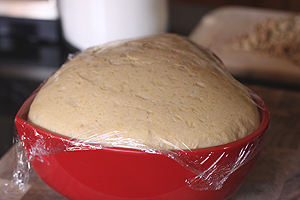
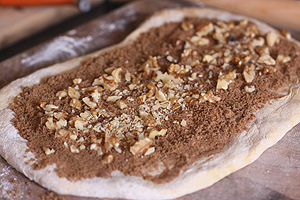
To shape the rolls, punch down the dough and divide it into two halves. Roll out each half into a large rectangle (about 10 by 14-inches). Sprinkle with half of the prepared filling and about 1/2 cup of the walnuts. Roll the dough lengthwise and pinch the edges together to seal. Cut crosswise into 6 rolls. Repeat with the second half of the dough. Place the rolls cut side down in the baking dish, nestling the rolls into the topping.
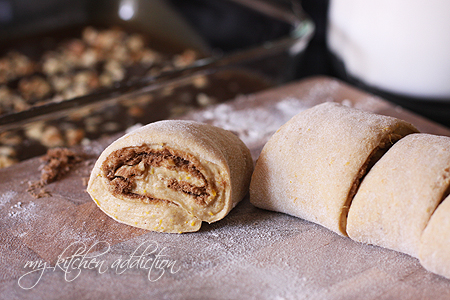
Cover the rolls with plastic wrap and allow them to rise until puffy and an indent remains when lightly touched.
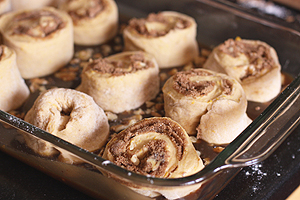
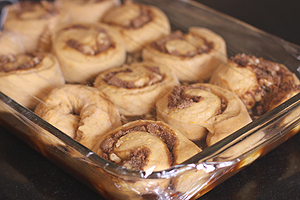
As the rolls rise, preheat the oven to 375°F. Bake the rolls for 23 – 25 minutes, until golden on top and hollow sounding when tapped. Cool the rolls on a wire rack until ready to serve. Invert the rolls (either individually or the whole pan) when ready to serve. Serve warm.
My Kitchen Addiction Disclosure – I was provided with samples of the PLATINUM Superior Baking Yeast for the purpose of testing and developing recipes in my kitchen. This post was sponsored by Red Star Yeast. Though I have been compensated to write this post, all opinions expressed are my own.

That looks way too wonderful.I’m going to need a dozen
as if i didn’t have enough reason to love pumpkin… or sticky buns… you go and combine them! i’m in trouble.
These may just replace cinnamon sticky buns on my list of favourites!
These are stunners Jen! Your photos are so great they’re seriously making my mouth water!
The sticky buns looks wonderful.
Yum! Those sticky buns look incredible!
I really like to make this,but i have a problem with yeast.I made something like this a few days ago,I used active dry yeast and combine it with warm water and after 10 min i added it to flour and other stuff.but after i let it to rise and wanted to make rolls it smelled like yeast!(i mean like rancidity)and even after i baked it it still didn’t smell good.and i don’t know what is the problem.i thought you could help me.
english is not my language,so i hope i could have made my point:)
thanks
Hi, Zara – I’m sorry to hear you have had trouble with baking with yeast. Is the yeast that you are using fresh? I like to store mine in the freezer so that it doesn’t go bad. I would check the date on the yeast to make sure it’s still good.