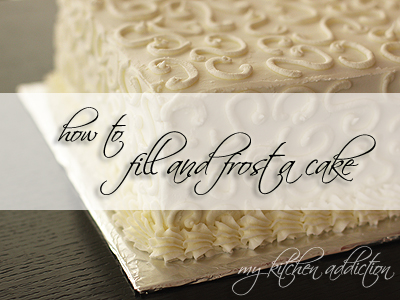
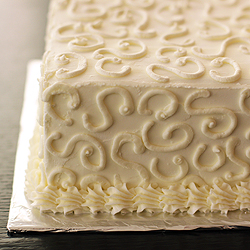
 I’ve made quite a few cakes lately… And, while I still prefer cookies to cake (any day of the week!), I’ve certainly improved my cake filling and frosting skills along the way.
It’s one thing to bake a layer cake for the hubs and I and simply fill it with frosting. If it bulges on the sides a bit, it’s no big deal. We’ll eat it either way. But, when I’m filling a white cake with strawberry or raspberry filling for someone else’s event (like a graduation party or wedding reception!), I want the filling to stay right where I put it. No one wants their pretty white cake to be hemorrhaging red fruit filling.
I used to be somewhat intimidated by cakes with fruit filling, but I’ve discovered that if you follow a few simple steps, and take your time, it’s really not that tough. So, I thought I’d share what’s working for me!
Steps for Frosting and Filling a Cake…
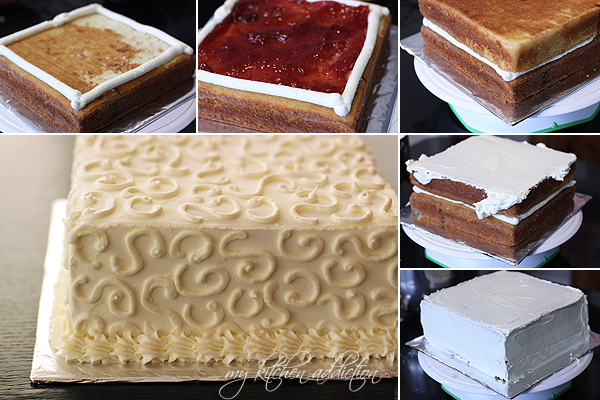
- Keep things level… First things first. Your cake will not stand a chance (and may not stand at all) if your cake layers aren’t level. Use a serated knife to carefully level off any uneven spots on both cake layers. Then, place one layer on your cake board (with the leveled side facing up).
- Create a frosting wall… You can’t just slap the fruit filling on the first layer of the cake. When you add the second layer, it will come squirting out in every direction. Instead, you need to pipe a frosting border (a large round pastry tip works well) just inside the edge of the cake.
- Now, add the fruit… Once you’ve closed the flood gates on the cake with your frosting wall, you’re ready to add the fruit filling. Carefully spread the fruit filling inside the frosting border, taking care not to flood the wall with too much filling.
- Top it off…Once your frosting wall has been filled with fruit filling, you’re ready to add the second layer of cake. Carefully place the second layer (leveled side down) on top of the frosting wall. Press gently to secure the cake. It’s ok if some frosting comes out the sides, but you shouldn’t see any fruit!
- Crumb coat… Unfortunately, it’s quite difficult to get a nice clean coat of frosting in one shot. Instead, you need a thin coat of frosting on the cake to seal in any crumbs. Starting with the top of the cake, use an offset spatula to apply a thin, even layer of frosting. Work any excess frosting from the top down along the sides of the cake until the whole cake is covered.
- Chill… I find it’s best to make the cake the night before I plan to frost it and let it hang out in the freezer overnight. The filling tends to stay in its place, and the crumb coat gets nice and solid so that it’s easier to add the final layer of frosting. Put the cake in the freezer until the icing hardens. Then, wrap securely in plastic wrap and return to the freezer for the night.
- Finish with Frosting… Finally, you’re ready to put the final touches on the cake! Starting from the top, apply a smooth layer of frosting to all sides of the cake. For extra smooth frosting, keep a mug of hot water on hand, and dip the spatula in the hot water and then dry it with a paper towel before smoothing your frosting.


This is great! Your cakes are amazing, Jen!!!
Really neat trick about the frosting wall! I would never have thought of that. The cake looks DELISH! Hopping from WFMW.
This was a really helpful post. I really appreciated the tips you shared with us. I hope you have a great day. Blessings…Mary
I can certainly use all tips on cake frosting. I don’t do enough of them and while practice makes perfect, having those that *know* give great advice is a big help. Great tips and that finished cake is beautiful Jen.
Your cake looks so amazing my friend :D
I definitely trust your genius!
Cheers
Choc Chip Uru
Great tips, especially the “frosting wall” and dipping the spatula in hot water to make an extra smooth frosting.
You are so talented… and I am not. I think I need a lesson. Come teach me!
Jen, I have been watching old episodes of Next Great Baker. 1. I think you should go on that next time. 2. This is a truly useful post. Merci!